This article has been rewritten and reorganized using artificial intelligence (AI) based on referenced technical documentation. The purpose is to present the content in a clearer and more accessible manner. For technical clarifications or further verification, readers are advised to consult the original documentation or contact relevant technical personnel.
Imagine this: after painstakingly configuring your industrial PC, the system suddenly crashes and all your critical data and settings are at risk of vanishing—wouldn’t you desperately need a “one-click rescue” teammate at that moment? Today, let’s dive into the standout feature of Advantech’s latest Windows Power Suite: ADV Image Manager. Discover how our innovative approach makes backup and recovery as effortless as breathing!
New Market Demands: The Pain Points of System Backup and Recovery #
With rising demands for high stability and availability in fields such as smart manufacturing, healthcare, and retail, ensuring stable computer system operation has become more crucial than ever. While Windows 10/11 IoT Enterprise LTSC comes with many powerful built-in features, the high operational threshold and complex procedures often discourage average users.
Therefore, the Advantech team decided to simplify complexity by creating an intuitive and fast image backup and recovery tool, enabling engineers, sales personnel, system administrators, and even beginners to easily get started and safeguard every piece of vital data and configuration.
What is ADV Image Manager? Three Key Points Explained #
1. Environment Setup #
ADV Image Manager first replaces the default Windows Recovery Environment (WinRE) with an advanced version of WinRE and automatically creates a dedicated “ADV Backup” partition on the system disk for storing backup images.
Note: Once the environment setup is complete, even if ADV Image Manager is removed, WinRE will not revert. This design ensures more reliable system recovery.
2. Backup #
With just a click of “Backup” in the desktop application, the system will automatically reboot into WinRE and start backing up the C:\ partition (the heart of your system!). Simply keep the command prompt window in focus during the process; once backup is complete, the system will automatically reboot and return to Windows. Open ADV Image Manager to instantly check the backup result.
3. Recovery #
In case of unexpected incidents, just click the “Recovery” button. The system will again automatically enter WinRE and restore the C:\ and system partitions to your latest backup state. This means all changes made after the backup will be overwritten, ensuring the system is restored to its optimal state. Rescue operations can be performed via both the desktop application and EFI Shell—even if Windows cannot boot!
Full Process Live Demo: Backup and Recovery Made Easy! #
Step 1: Environment Setup #
- In Power Suite, select “ADV Image Manager” → “Backup & Recovery” → “Settings”.
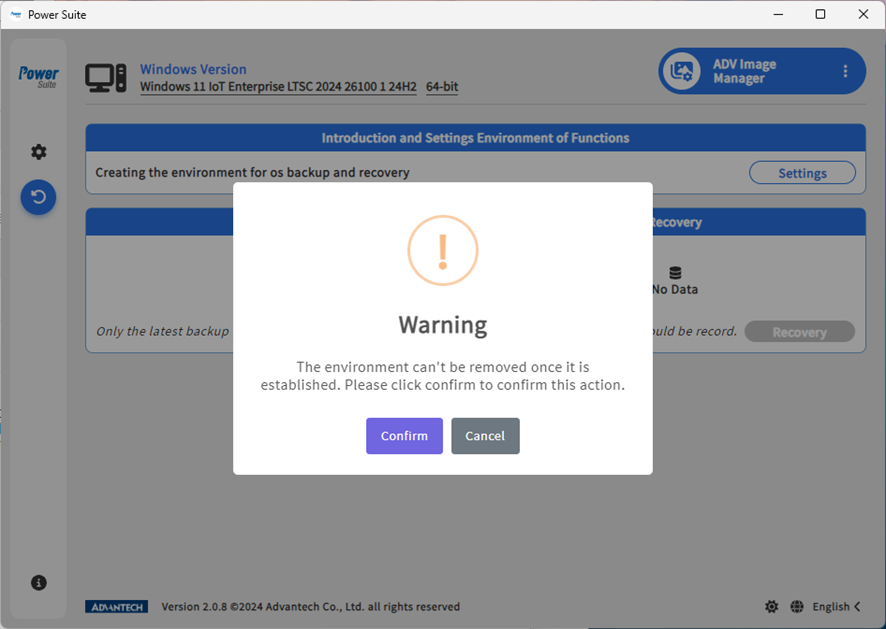
- The system will prompt “The native WinRE will be replaced”. Click “Confirm” to proceed.
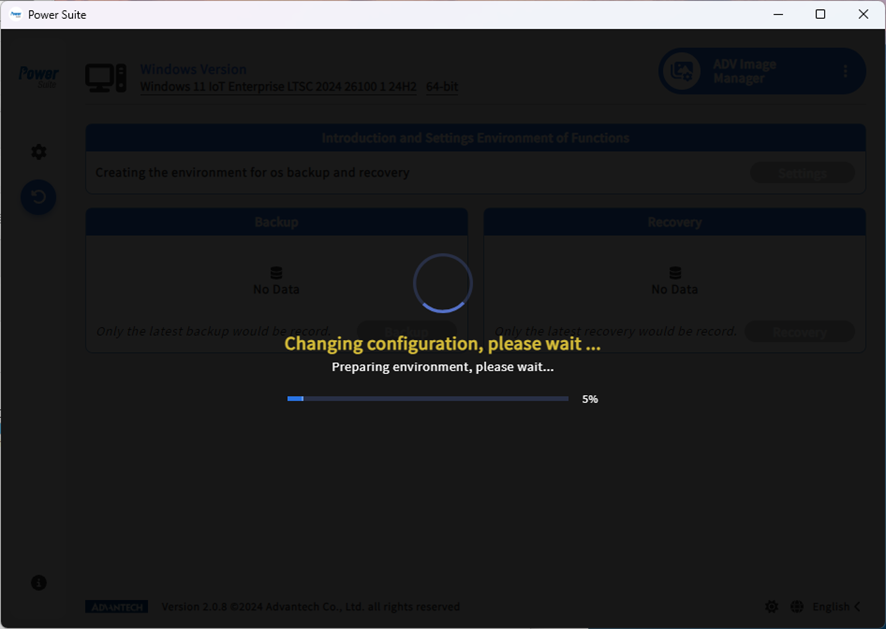
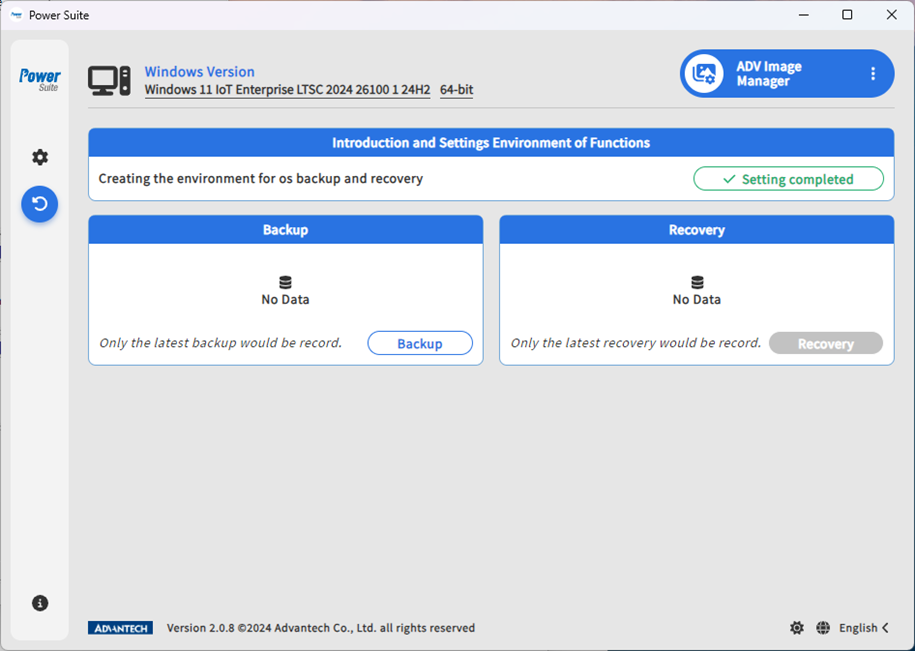
- Wait for the setup to complete and the success message to appear.

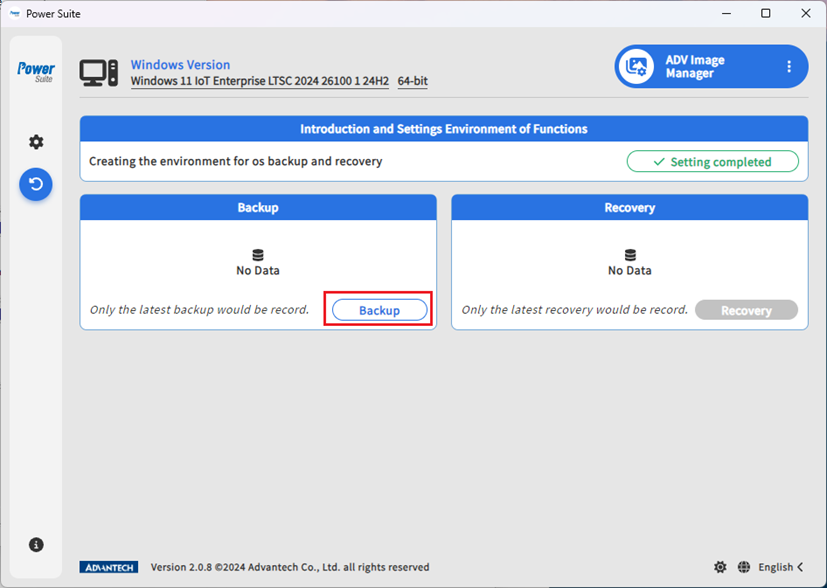
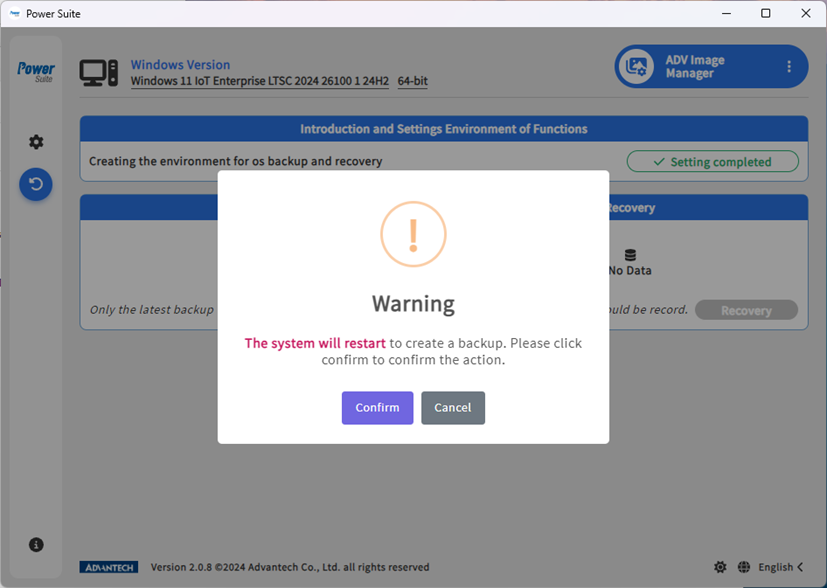
Step 2: One-Click Backup #
- Click “Backup” → “Confirm”.
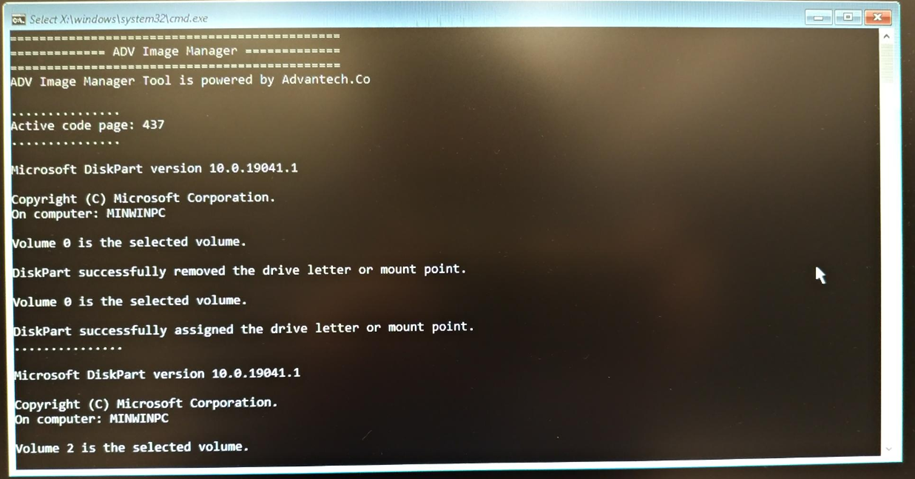
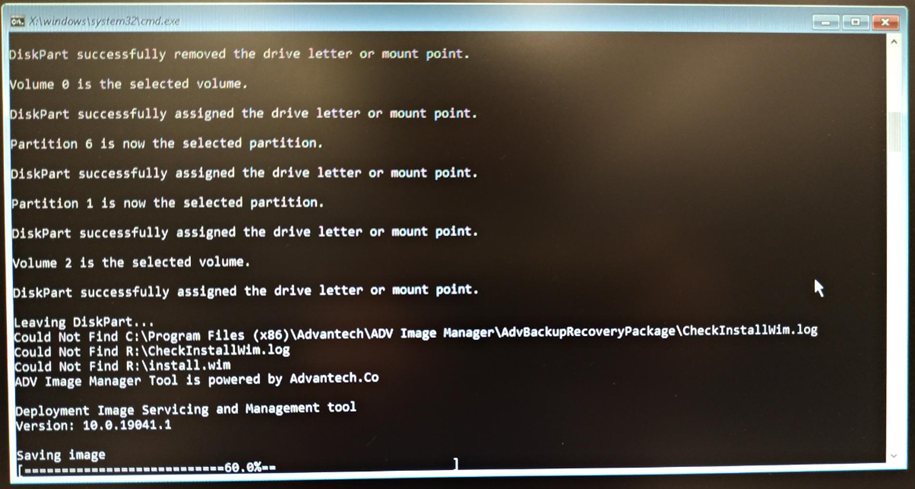
- The system will reboot into WinRE and initiate the backup process.
- Note: Do not close the command prompt window during backup; keep it in focus (if it loses focus, just press Enter to return).
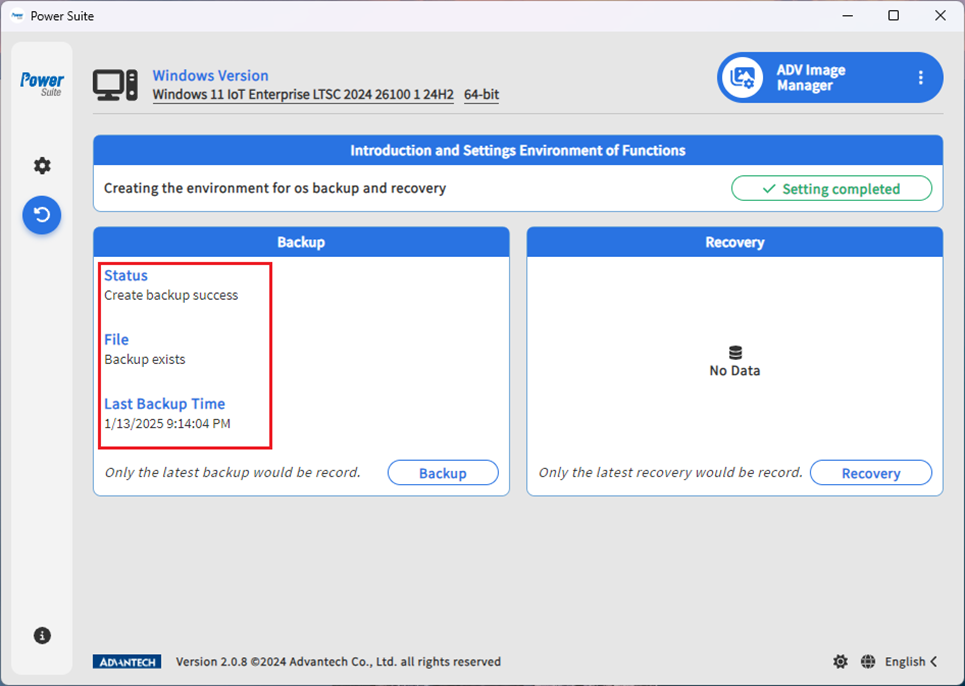
- After backup is complete, the system will automatically return to Windows. Open ADV Image Manager to verify the result.

Step 3: One-Click Recovery #
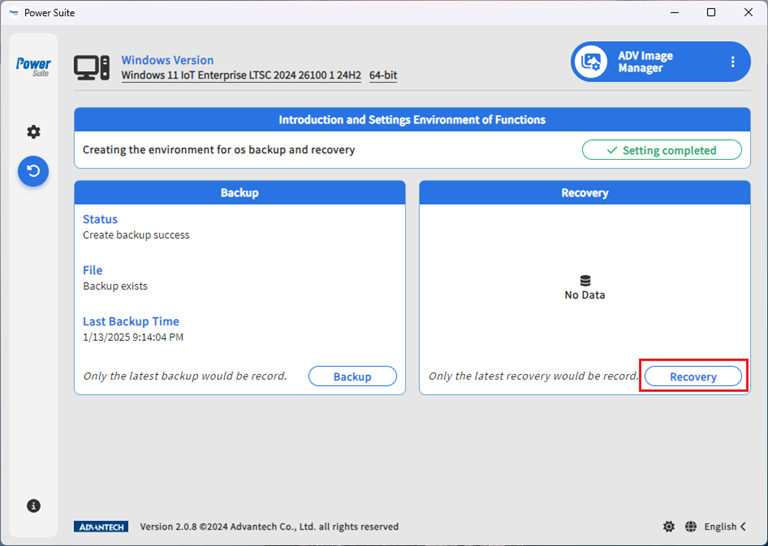
Desktop Application Recovery #
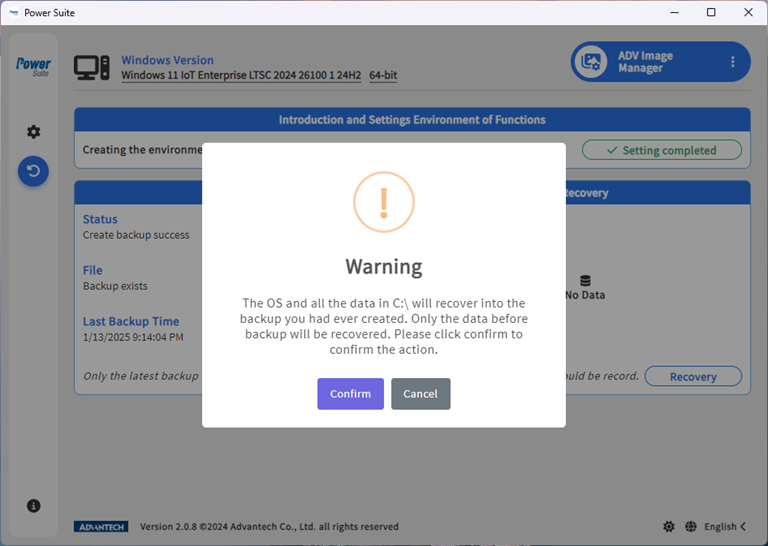
- Click “Recovery” → “Confirm”.
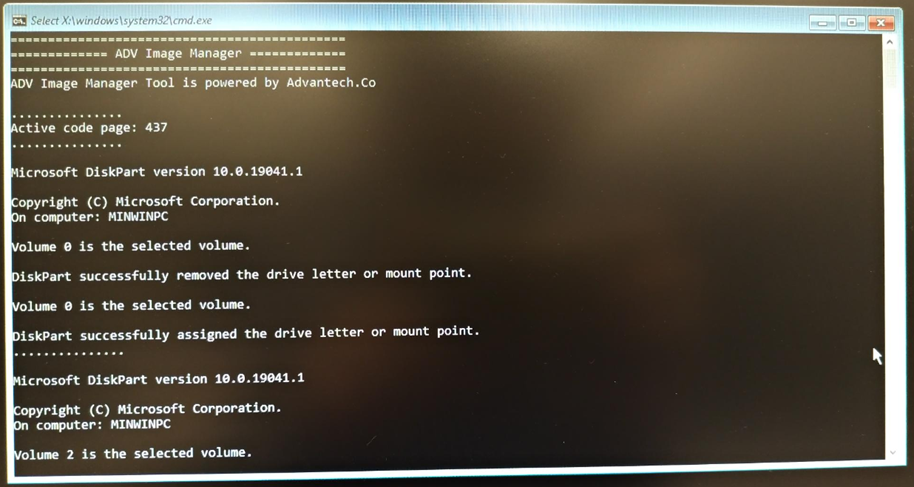
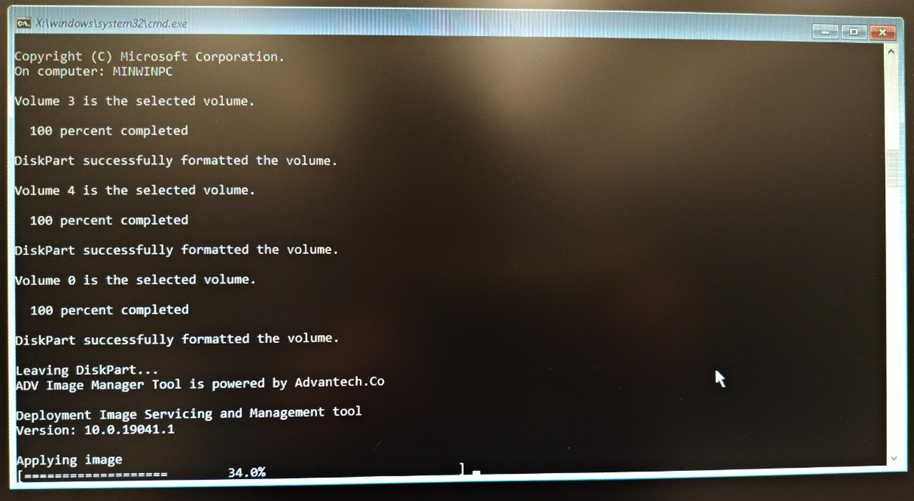
- The system will automatically enter WinRE and restore the C:\ and system partitions (Note: all new data will be overwritten after recovery).
- Keep the command prompt window in focus; the system will reboot automatically after recovery.
- Once back in Windows, open ADV Image Manager to check the result.


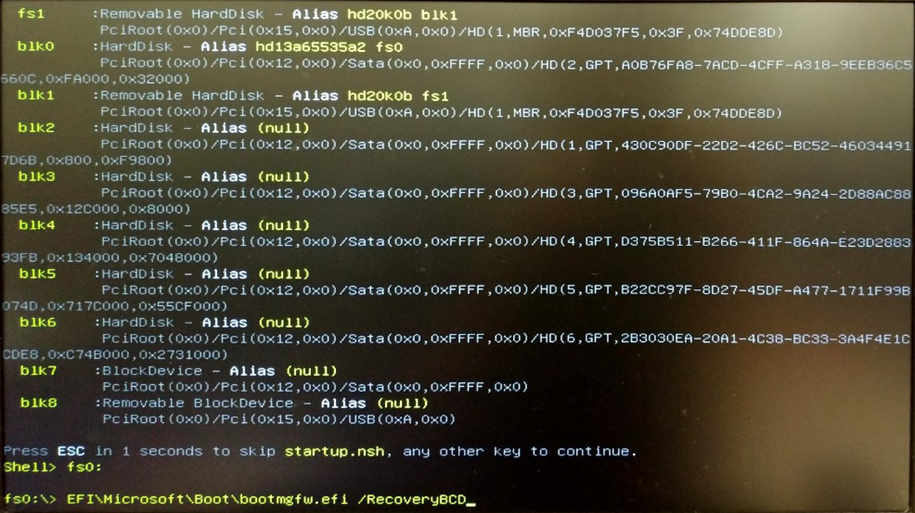
EFI Shell or WinRE Recovery (Lifesaver When the System Won’t Boot) #
- Use the BIOS built-in EFI Shell or USB boot to enter WinRE.
- Enter “fsX:” and “EFI\Microsoft\Boot\bootmgfw.efi /RecoveryBCD” to access the recovery menu (X is the partition number).
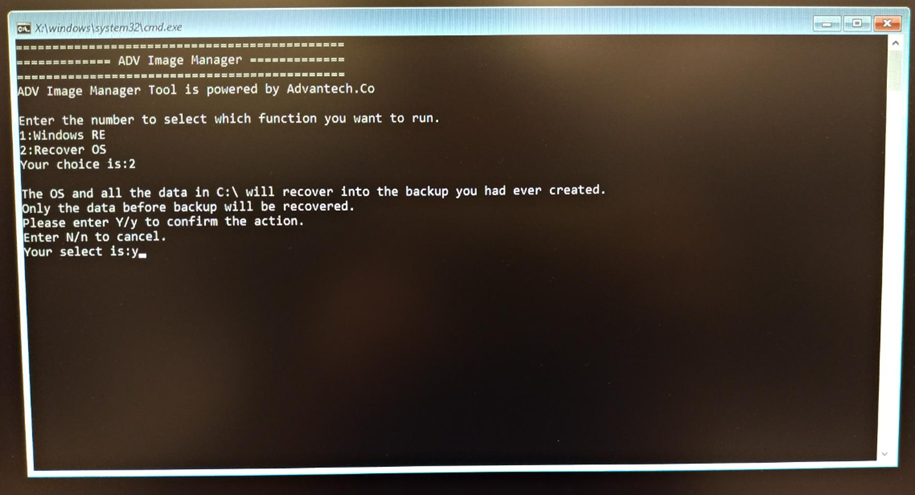
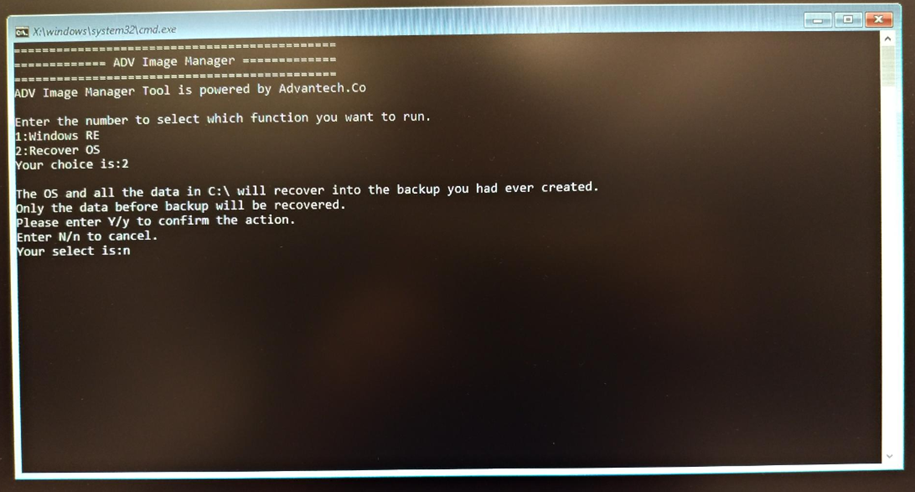
- Enter “2” to select Recover OS.
- Enter “Y” to initiate recovery (or “N” to cancel).


Innovative Highlights and Value Applications #
- Ultra-Simplified Operation: One-click backup and one-click recovery—no complicated commands required, anyone can become an IT expert!
- Dual Rescue Modes: Supports not only desktop applications but also EFI Shell, empowering self-rescue even when the system won’t boot.
- Dedicated Backup Partition: Enhanced data security for faster and more reliable recovery.
- Seamless Windows Environment Integration: Greatly improves deployment efficiency, ideal for smart manufacturing, healthcare, transportation, retail, and more.
Compared to traditional backup tools, ADV Image Manager not only offers more intuitive operation but also protects your critical systems in extreme situations, maximizing system stability and data security.
Conclusion and Future Outlook #
The Advantech team continues to innovate, striving to make industrial PC system management simpler and more reliable. The launch of ADV Image Manager not only addresses industry pain points in backup and recovery but also demonstrates our robust expertise in the IoT and industrial software sectors.
Looking ahead, we will keep optimizing more automated and intelligent management tools to help customers navigate rapidly changing market challenges, building a sustainable, secure, and stable digital foundation.
Let backup and recovery become your competitive edge, not a challenge! To learn more about our latest R&D achievements, stay tuned to the Advantech blog and join us in embracing the smart future!